Getting started
Getting started
Requirements
- Node.js 22 or newer and npm.
- A Cloudflare account for deploying (see Deployment).
- An IMAP/SMTP mailbox you already own, or a relay provider account for a send-only domain.
Local setup
npm install
cp wrangler.toml.example wrangler.toml
npm run db:init:local
The example wrangler.toml uses a placeholder D1 ID; for local development that is fine. For a real deployment, create your own database and replace it, or configure the DB binding in the Pages dashboard.
If you already have a local database created before labels/signatures, run npm run db:migrate:local. If you only need the security tables (sessions, rate limiting, OAuth state), start from that migration with node scripts/migrate.mjs local --from=012; existing sessions are invalidated.
Environment file
Create .dev.vars in the project root (it is gitignored):
APP_PASSWORD=change-me
TOKEN_ENC_KEY=<32-byte base64 key>
Generate the key with:
node -e "console.log(require('crypto').randomBytes(32).toString('base64'))"
Run the app
Start the frontend and the API in two terminals:
npm run dev       # Vite on http://localhost:5173
npm run dev:api   # Pages Functions on http://localhost:8788
Open http://localhost:8788 and sign in with APP_PASSWORD. The Functions proxy the Vite dev server, so always use port 8788.
Connect your first account
- Sign in with
APP_PASSWORD(plus the TOTP code if you enabled two-factor authentication). - Click Add account in the sidebar or in Settings.
- Choose IMAP/SMTP mailbox or Send-only (relay).
- For an IMAP mailbox:
- Pick a provider preset or enter IMAP/SMTP hosts, ports and security manually.
- Choose OAuth where supported, or enter a password / app password.
- Use Test connection in Settings.
- For a send-only domain:
- Select the relay provider and paste its API key.
- Choose where sent copies and drafts go: Google Drive, R2 (only if the
BUCKETbinding exists) or another account’s mailbox.
- Send a test message.
| Account settings | Connect an address |
|---|---|
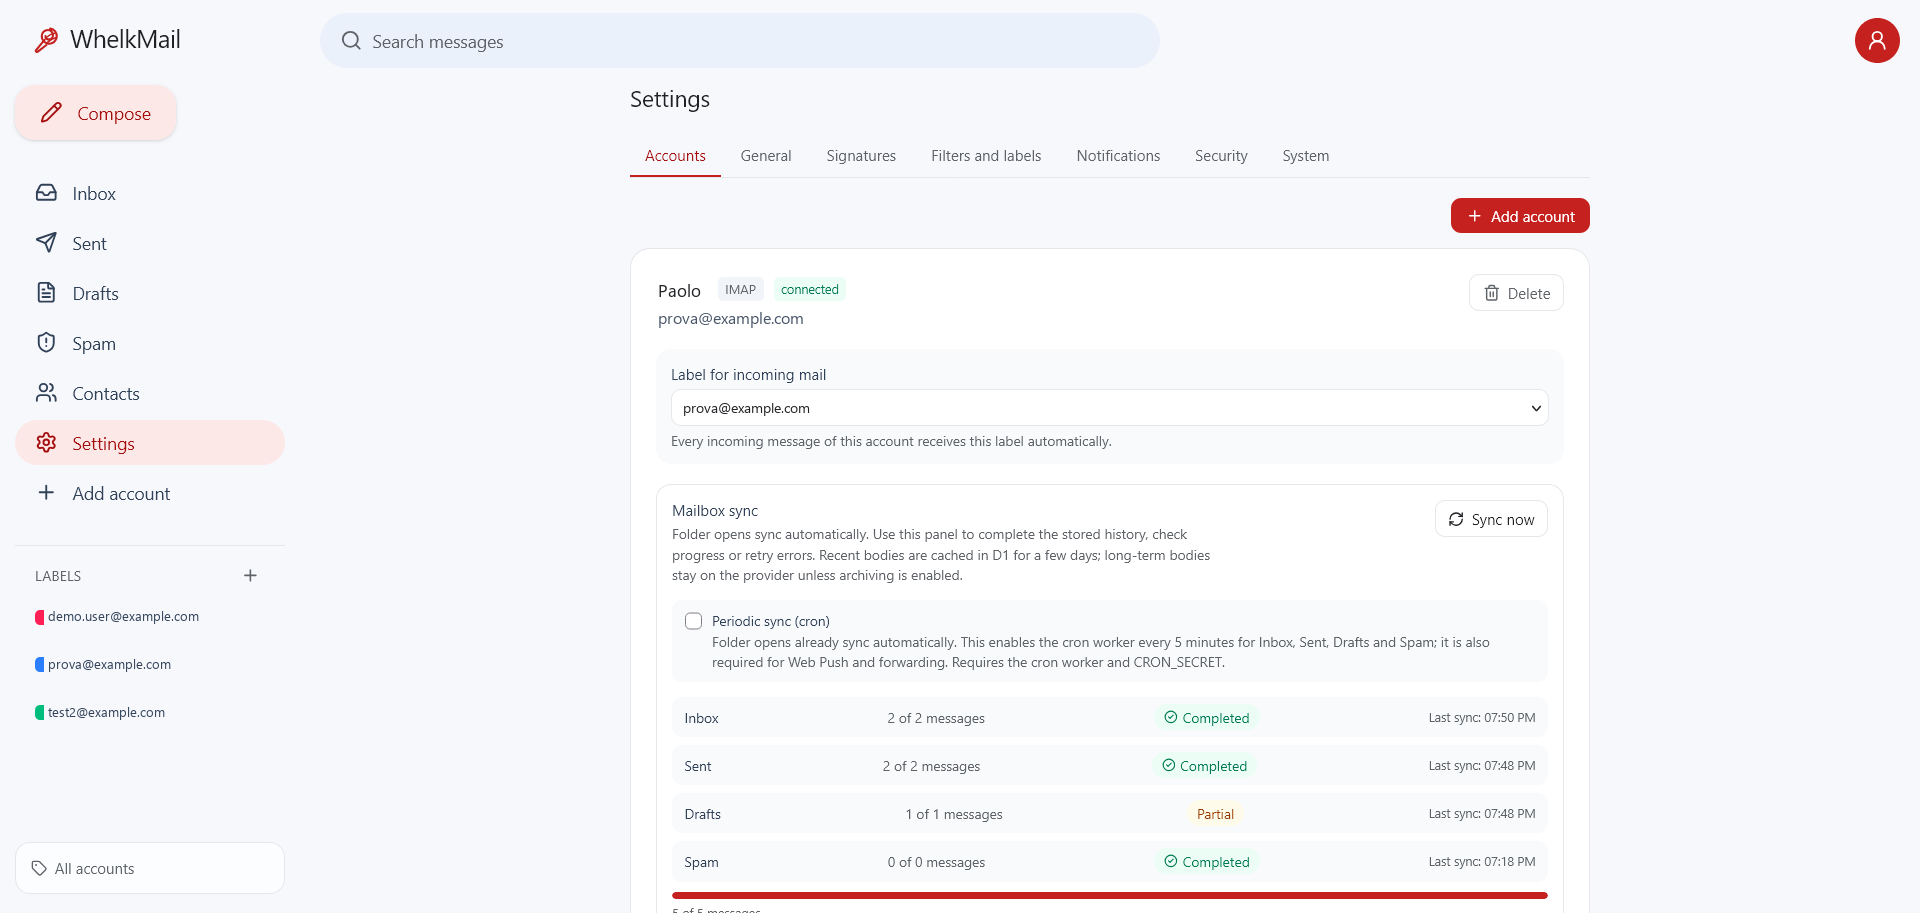 |
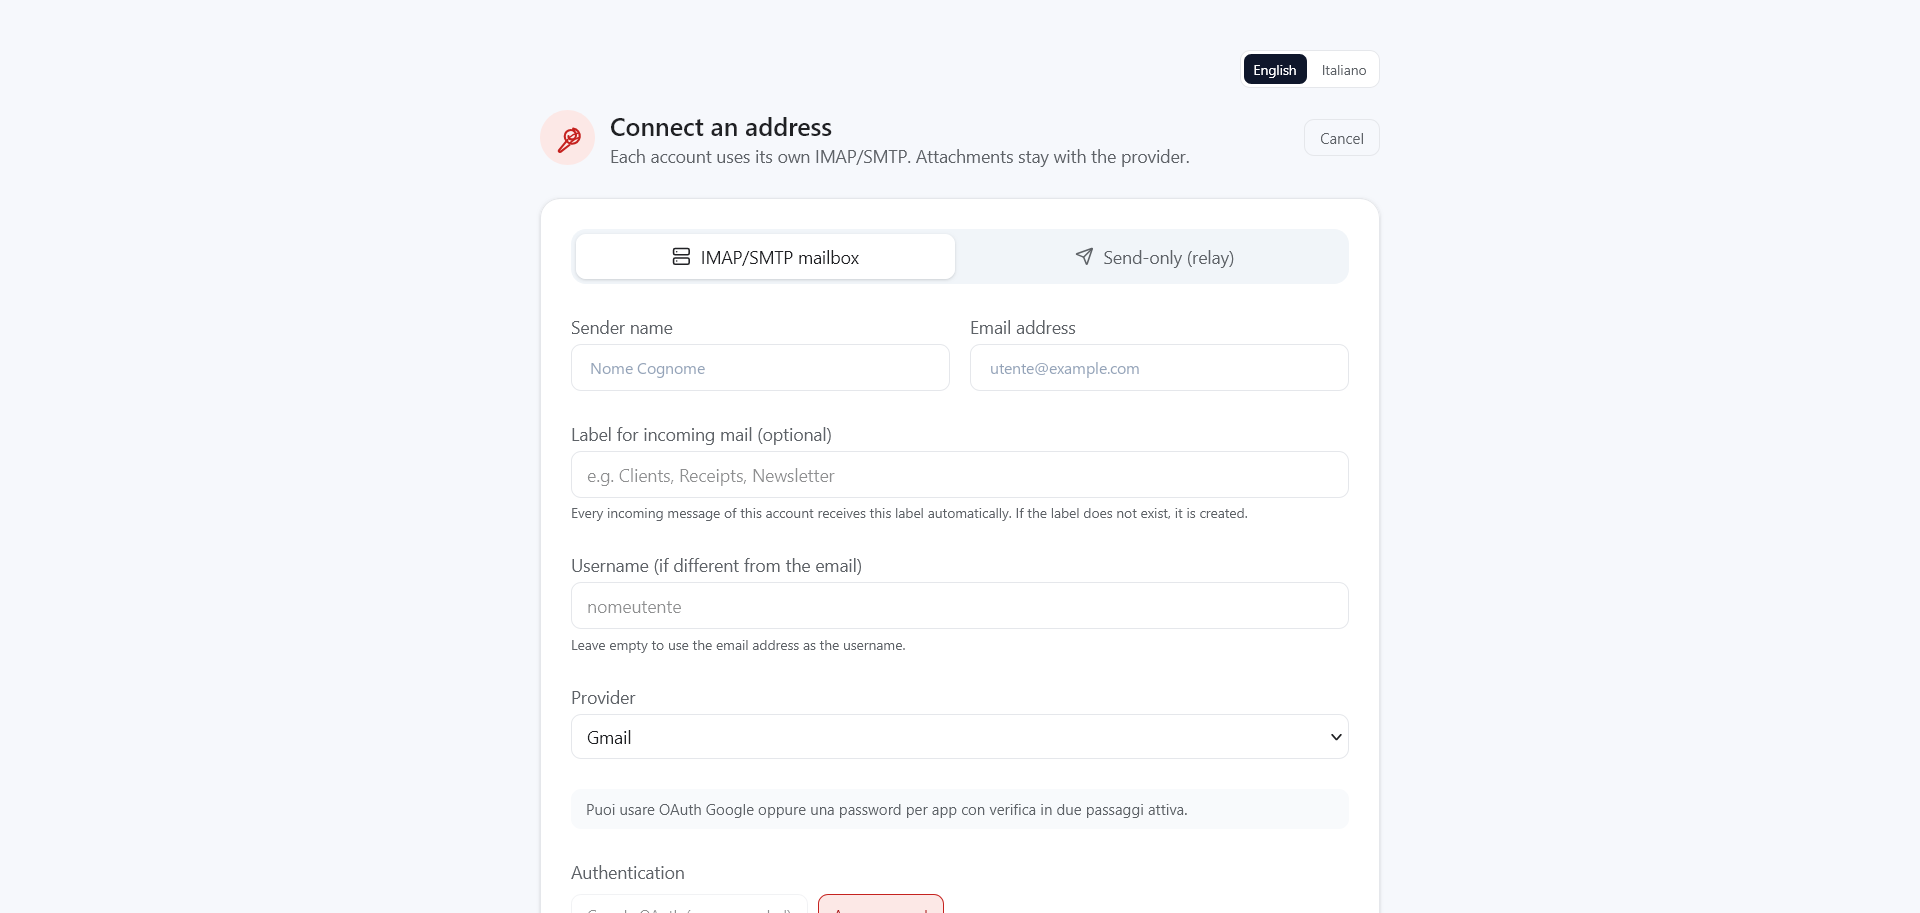 |
Authentication per provider
| Provider | Method |
|---|---|
| Google accounts | OAuth2 (recommended) or app password (2-Step Verification required) |
| Outlook / Microsoft 365 | OAuth2 + XOAUTH2 (basic auth is no longer supported by Microsoft) |
| Yahoo | App password |
| iCloud | App-specific password |
| Generic IMAP | Account password or app password |
| Relay accounts | Provider HTTP API key (+ secret/domain where required) |
OAuth application setup is covered in OAuth setup.
First checks
- Save a draft, reopen it from Drafts, and delete it.
- Add a second account to see address labels and the unified inbox.
- Confirm that a sent message appears in the provider’s Sent folder.
Next steps
- Deployment — run it on Cloudflare.
- Configuration — all bindings, secrets and variables.
- PWA and Web Push — install the app and enable notifications.
